 Soooo….when you cannot eat out as much you need to learn to kick for yourself a lot more and when you get through cooking steaks and baked potatoes and then you have the need to feed a group or something like that, and it needs to be “clean” (gluten free) it takes a little bit of planning, a little time and a lot of love. My wife is always complimentary of my cooking but at the same time gets irritable because I cook mainly by feel (having a general understandings of what ingredients I want and then adding things and being inexact as to amounts of each one along way can lead to some inconsistency so as a favor to you, my loyal readers and in my continuing effort to stay married I am going to offer as detailed directions as I can for making this fan favorite.
There is much to be said for “the big meal”. Something that can feed a lot of people and provide tasty leftovers. There really is nothing like the communality (word?) of dining en mass and when you have children, or grown children and their friends and they are kind enough to spend some time with you, cooking for them is a great way to show your joy at having them around and modeling behavior that is related to service that is a benefit for everyone. Also… and this speak especially poorly of me, there is nothing like when you stop and lay it out and watch it get devoured, and watch the larger of the mammals go back for seconds and thirds and soaking in some kind accolades and thinking to yourself, well… if I did not thing else good this day (week, month, or year) at least I did this. And the great thing about cooking is that it is under your control and you always have the ability if you go slow, to make it great.
HOW TO GO SLOW AND MAKE IT GREAT
One of the key things I have learned from cooking a lot is the importance of the
“mis en place”. Anothony Bourdain introduced me to the concept in his book “Kitchen Confidential” which if you have not reads it, shame on you. It essentially means “everything in it’s place” and when cooking you want to get all your ingredients out first and lay them out. For a Becker this is doubly important because often i will forget a key ingredient and not have it available and will have to run to the store in the midst of cooking which, for lack of a better term, fucks everything up. A great explanation of the concept can be found here:
“mis en place”. Anothony Bourdain introduced me to the concept in his book “Kitchen Confidential” which if you have not reads it, shame on you. It essentially means “everything in it’s place” and when cooking you want to get all your ingredients out first and lay them out. For a Becker this is doubly important because often i will forget a key ingredient and not have it available and will have to run to the store in the midst of cooking which, for lack of a better term, fucks everything up. A great explanation of the concept can be found here:
I think for myself and a lot of men who like to cook, but are not chefs, that this is really a key concept to internalize. Make a grocery list, go to the pantry and make sure you have all the ingredients because sometimes we forget that we used all the coriander last time. Sometimes, like with this gem, you might also need to get it started the day before or at least several hours before with some marinade or in this case some brining.
TOOLS
Martha Stewart Blue Roaster (ceramic iron)

Cutting Board
Sharp knife
Garlic Press
BRINING
To people like me who were not raised as cooks, brining can sound intimidating. Maybe you are smarter than me but I always thought of it as some kind of alchemy similar to “letting yeast rise” or “making a soufle” that I would consistently screw up. The fact is that bringing is monkey stupid and easy. An excellent description of why you brine is excerpted here from the “Fine Cooking.com”
“Moisture loss is inevitable when you cook any type of muscle fiber. Heat causes raw individual coiled proteins in the fibers to unwind—the technical term is denature—and then join together with one another, resulting in some shrinkage and moisture loss. (By the way, acids, salt, and even air can have the same denaturing effect on proteins as heat.) Normally, meat loses about 30 percent of its weight during cooking. But if you soak the meat in a brine first, you can reduce this moisture loss during cooking to as little as 15 percent, according to Dr. Estes Reynolds, a brining expert at the University of Georgia.”
That having been said...
Ingredients for Pork Shoulder
8 llb pork shoulder (some call it a pork butt and what you really want ideally is a chuck of meat with maybe a ¾ layer of fat one side and some bone in it. It does not have to be a lot bone. Even a little, say a thumb worth of bone, is good).
½ cup of brown sugar. Any crappy brown sugar will do but in a perfect world C&H sugar, the really dark brown stuff is my favorite but seriously...any brown sugar. Half cup.
½ cup of Morton's Kosher Salt. You can use regular iodized salt but seriously, why would you. You can get kosher salt anywhere and it is just better and it certainly cooks better. Coarse sea salt is also an excellent option but there are a lot of options so..Morton's Kosher is a great “go to”.
¼ cup of chili powder. Once again, any generic kind is fine. I love Ancho chili pepper or Chipotle but they are expensive so for this, just get any generic brand of chili powder. One good idea here is to go to a local Mexican market or most international markets and pick up some of their bulk generic chili powder. It is always a slightly higher grade.
Four cloves of garlic.
Tablespoon of black pepper (any kind)
One whole large white onion
One cup of Cabernet, Merlot or some dry red wine.
INGREDIENTS FOR VERDE

15 Tomatillos (Tomatillos are little green tomatoes that com in a husk. They are a pain in the ass because:
1. Some regular grocery stores do not carry them (most do)
2. The husk needs to be peeled which it does easily but then they have a sticky film on them that is best rinsed off.
3. They are small so it takes a lot of them.
2 whole white onions (chop them as fine as your attention span allows but other than avoiding long strands i believe vagaries in size of the onion and most everything else you chop) makes for a better mouth feel.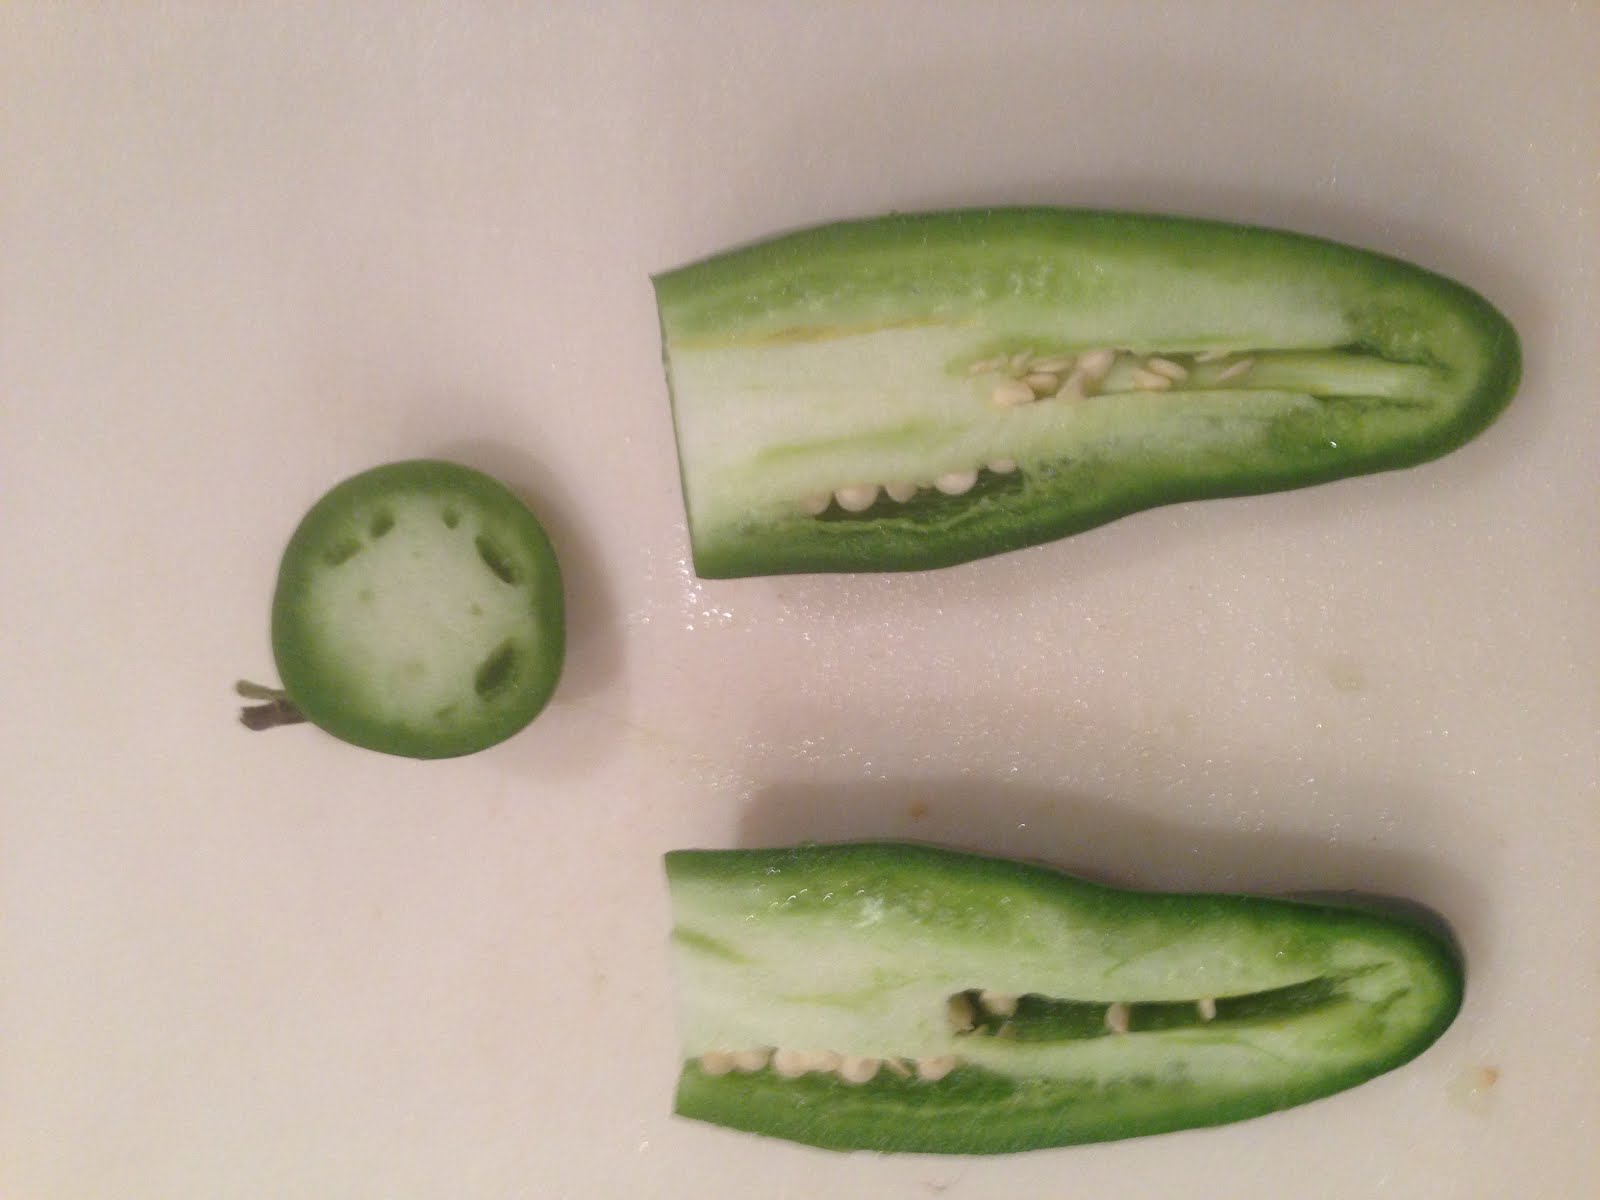
 2 jalapenos (this is totally a personal preference for heat and the heat your crowd might like. If you have a group of younger men… a “quiennes mas machos?!” type crowd go with three Jalapeños and leave the seeds and inner membrane in.
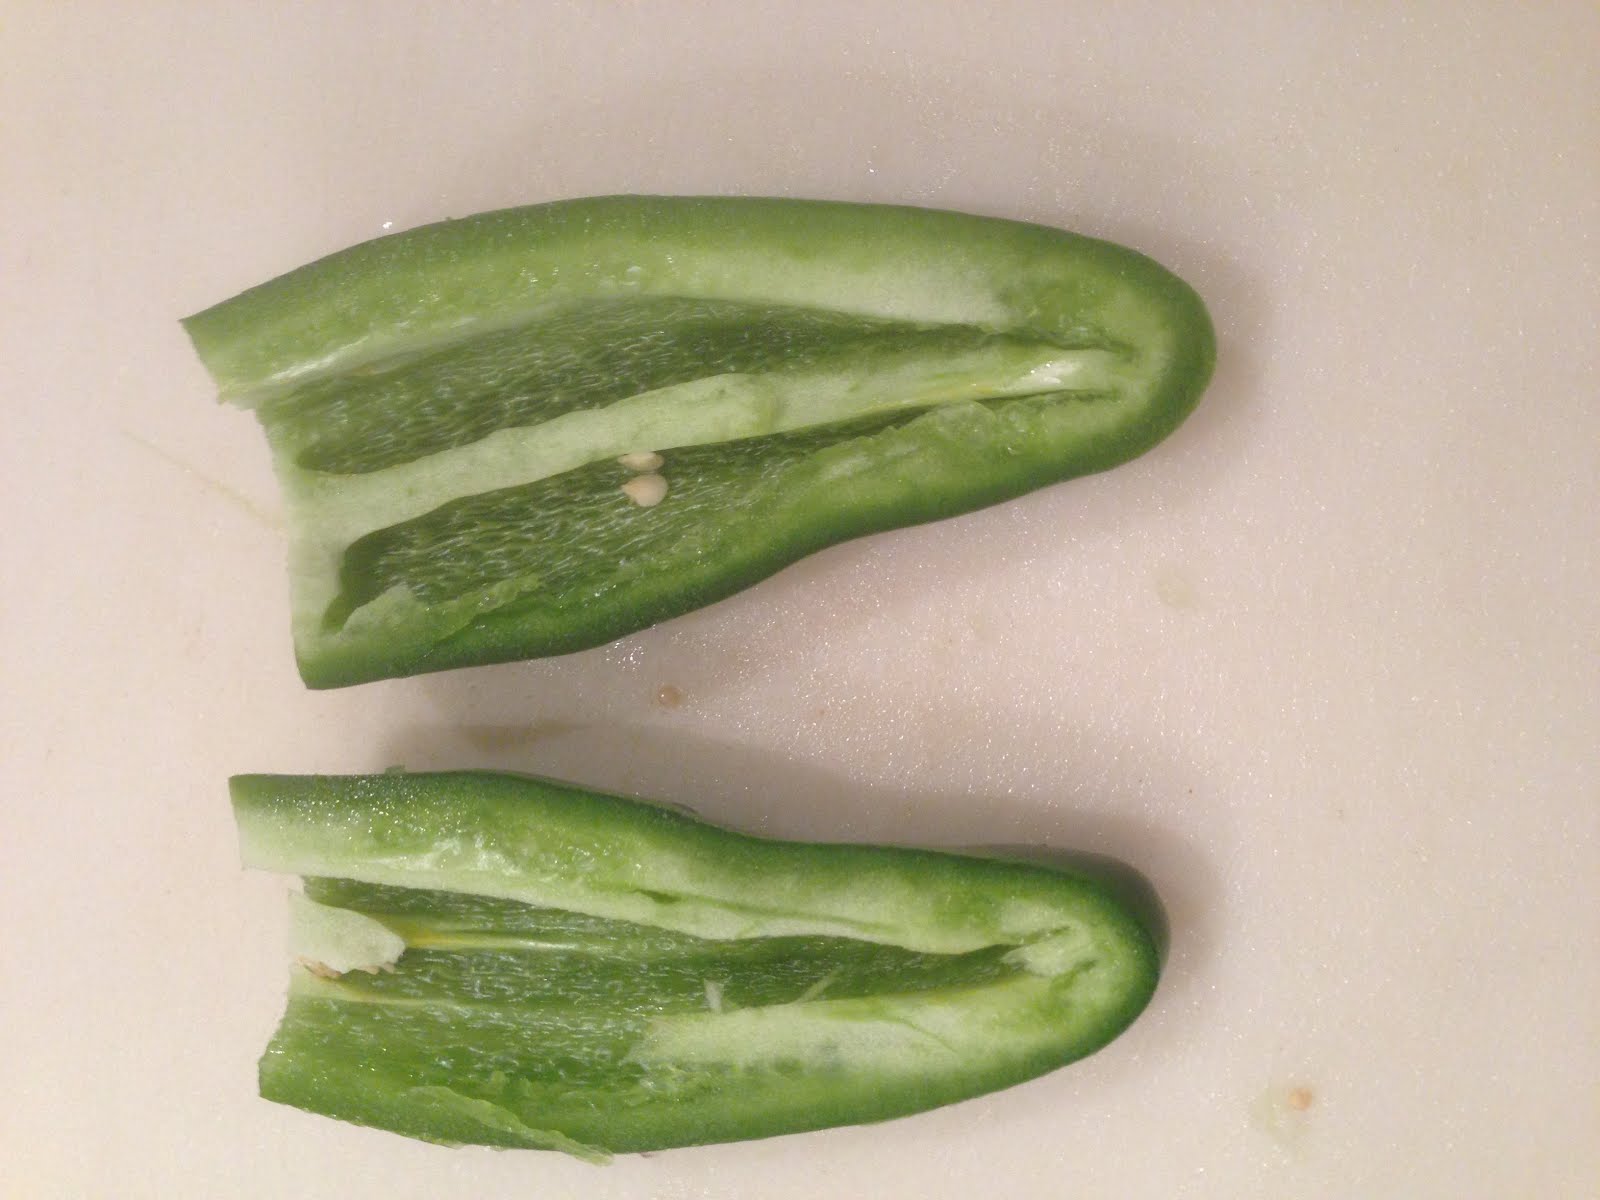
That is where all the heat is. For a normal batch I will casually de-seed and de-membrane the jalapenos meaning I chop the top off and then with the point of the knife over the sink ro cutting board loosely remove 90% of seed and membranes. Don't be fussy. If you really want milder salsa use Anaheim peppers which still have some good flavor and a little heat. Poblanos are even milder but they taste too much like green peppers for me. I have no experience with Habaneros. The concept of that much heat cannot do anything but rob flavor in my opinion. But the bottom line is that jalapenos are easy to come by and make for excellent slasa verde.)
 Once I de-seed them I take the ½ a pepper and meat side down press it into the cutting board, flattening it to slice and chop.
  If I know I have people who hate jalapeno I will make bigger pieces for them to pick out but generally I chop them pretty fine.
Garlic (two cloves minced or pressed)
Cilantro On bunch, sloppily de stemmed and chopped up in an uncaring manner. (Cilantro is hard to work with if your fussy. Sometimes i just chop up the stems too because they can give a nice crunch but normally i just hold the bunch in hand by the stalks and run a knife over it and then rotate a little bit and to the other side. Most of the leaves fall off. Then chup but not too much because it becomes pasty. Don’t be fussy!
Two Limes each cut into 6ths or 8ths.
One Tablespoon kosher salt
Two Ears of Corn (only if in season and please don’t use canned corn)
VERDE PREP
Ideally you want to make it a day before. A day in the fridge really allows it to brew, mulch… whatever. It will stink up your fridge for a day in a heavenly sick way. Also remember that because everything in it is fresh it has about a 3 day refrigerator life. By day four it gets sketchy and it can start to stink after 5… but make it a day early and you will get better results.
Start with the tomatillos. Husk them. Rinse them. I cut off the top but that is a little fussy. After cutting off top I slice into horizontal chips and slice those chips into strips and those strips get the final chop. I do it a Tomatillo at a time for quality control. It is annoying, there are a lot of them and it will take you 15 to 20 minutes.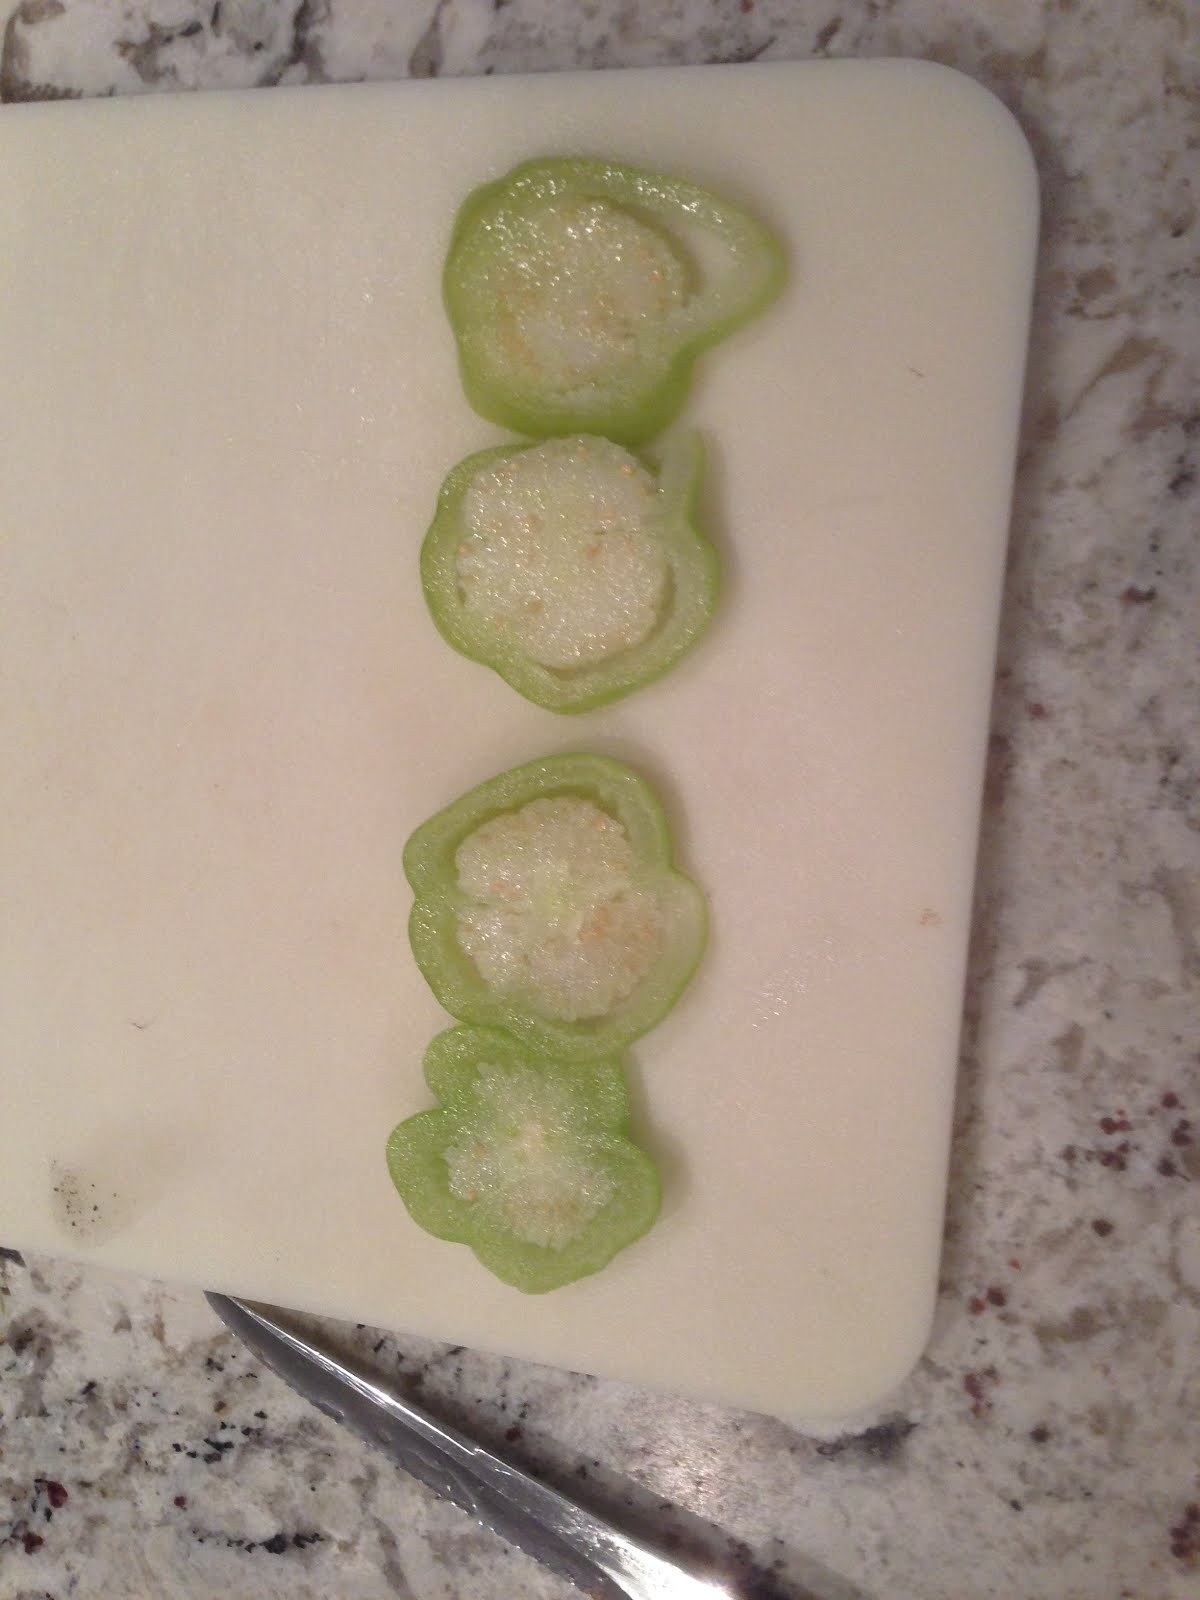
Do the same with onions. Cut off outer layer and slice of the top and chop them till the cows come home.
You can chop the garlic but I disagree with Mr. Bourdain here (he insists that anyone who uses a garlic press does not deserve garlic. He is an asshole.) You can shop your garlic yourself (me personally I live the smell on my fingers) or press it.
Jalapenos take care as indicated above.
Cilantro take care of as indicated above.
Limes… squeeze each wedge into the bowl, then mash them against the side and then leave their dead husks in there to stew. They don’t hurt nuthin.
Corn… if in season bring a pot to a boil and boil two ears of corn for 3-5 minutes. Then take a steak knife and slice it onto the cutting board and into the mix. BUT ONLY IN SEASON! The corn adds a nice color and makes it “pop” a little to the eyes. I KNOW it ruins the “verde” quality of it but holding to cooking traditions is for Quakers.
Tomatoes: Also ONLY IF IN SEASON LOCALLY! Sometimes chopping one fresh tomato up adds a little more popping color as well. I like it but don't do it often.
Pour in the salt
When I first started making this (Tim Tiemann had read ingredients to me over the phone) I didn't chop anything and just threw it into a food processor. If you are lazy, this is a time saver but your Verde ends up more like a relish than a salsa in my opinion and done not have such a good mouth feel as it does when the ingredients are chopped and left unmolested by the food processor.
So seriously, you just keep emptying what you chopping into the bowl and then you stir. I would stir it for several minutes to make sure it is properly mulched (I understand “mulched is not a cooking term. Don’t be prissy.) Cover it tightly with a lid or some press and seal and stick in the fridge. If you have a “funny” fridge that freezes things in the back, do not put it back there because that will ruin it.
Take it out the next day. This is for pulled pork but I also use it on my tamales and it is great with a chicken breast or eggs as well. This is simply a killer condiment and when sat out with some decent corn chips will be scarfed up in a manner which is slightly frightening. I normally just leave the husked limes laying in there for people to  scoop and pick around but the aesthetics of the dish will often call for their removal.
scoop and pick around but the aesthetics of the dish will often call for their removal.
PULLED PORK PREP
After you make your Verde. Brine your pork. People say do it for 3 hours. I say, do it all night long. 24 hours is not too much for a big piece of pork. If you only have a few hours, chop it up into fist sized chunks but if you have your shit together, brine the whole thing in a gallon Ziploc all night long.
To make the brine, take a mixing bowl and pour in the brown sugar and the kosher salt and the chili powder and the black pepper. I formerly used hot water for this but I think it mixes better with cold and that cold water is better for brining generally. Stir it all up with a wooden spoon. If you do not have a wooden spoon buy a few and treasure them. Seriously, this is important. Wooden spoons are THE aesthetics of cooking like this. Once you got it mixed up put the shoulder in the bag and dump the brine on it. You will still have glop at the bottom of the bowl. Scrape it into the bag. Gently push the air out of the bag and then massage it to make sure you get liquid more easily dispersed and then put into the fridge.
PULLED PORK COOKING
Get up early. In a perfect world you have 10-12 hours to cook it. This is the KEY to good pulled pork. You want to cook it low and slow (like a witch would do with a small child). This allows it to become “succulent” and this is what you are really going for.
Heat the oven to 275.
Chop up the onion...just a rough chop up your garlic.
Fry 3-4 strips of bacon. Fry it until crisp. Remove the bacon from the pan and place on a two or three paper towels. Take the bacon drippings and pour them into Martha Stewart roasting pot and place on medium heat.
Take a fork and remove the pork and drop into the pot. Hopefully it sizzles. Let it brown for 5 minutes and hopefully caramelize a little on one side and then flip and let it caramelize on the other side a little. Don’t be fussy. If it does not caramelize at all that is fine, the main thing is the bacon grease.
Remove from heat.
Pour the brine and the pork shoulder into your big blue Martha Stuart pot. Pour in your onion and garlic and pepper. Cover it and place in the oven. Lots of people will blanch at the idea of pouring that brine into the pot and cooking with it. Screw them. Listen to me. Pour it all in and let it go for 2 hours at that temperature.
After two hours get it out and flip it around and reduce the temperature to 200 and then… forget about it for another 5 hours.
After five hours more (total of seven) or even after six hours (total of eight) pull it out.
Drain ½- ⅔ of the remaining brine. Hopefully it has not boiled away. The pork should pull apart easy. Take to forks and fork pull it. Try and peel off and pull out the larger hunks of fat gristle and bone. Don’t be too fussy. Getting all the bone and 70% of the rest is a good job and try and fork it pretty thoroughly.
Pour in the wine.
Cover and put back in oven for another 1-2 hours.
Pull it out and serve it in the pot with a serving fork after stirring it around one more time.
I really like to serve it with the Verde and heated corn tortillas. Maybe a little cheese and make sure you have some fresh onion and lime for classic street tacos. It should easily serve 8-10 with leftovers.

This is my gift to you. Life is good.

No comments:
Post a Comment